bauthe ka raita one of the yummiest recipe

bathue ka raita

About bathue ka raita

There are many types of raitas, but bathua raita is especially beneficial for the body in winters. It is not only delicious in taste but also helps in digestion. Bathua is rich in iron and is a small plant mainly grown in North India. It is known by different names, like “cheel” in Gujarat. Many dishes are made from bathua, such as bathua paratha, raita, and sabzi. To make bathua raita, you can either make a paste of bathua or use boiled leaves in the raita. This raita can be served with roti, rice, or paratha. Some people also use garlic for tempering. Cleaning the bathua leaves may take a little extra time, but making the raita only takes about 10 minutes. In those 10 minutes, you can prepare a nutritious and tasty raita for your loved ones. Consuming green vegetables helps keep the body fit and healthy. Now, let’s begin the recipe for making the raita.

Subtitle

About bathue ka raita

Ingredients

How to clean bathue

How to make bathue ka raita

For tempering

Tips and FAQ

Ingredients

Bathua – 1/2 kilogram
Yogurt – 1/2 kilogram
Salt – to taste
Red chili powder – 1/2 teaspoon
Cumin powder – 1/2 teaspoon
Chaat masala – 1/2 teaspoon

For tadka:
Oil – 1 tablespoon (vegetable oil)
Garlic – 4-5 cloves
Green chili – 1 medium

How to clean bathua

To clean bathua, first, break the leaves off from the stem and separate them. Then, wash them thoroughly with 4-5 changes of water. Bathua tends to have dirt, so make sure to rinse it well using at least 4-5 washes before making the raita.

How to make bathue ka raita

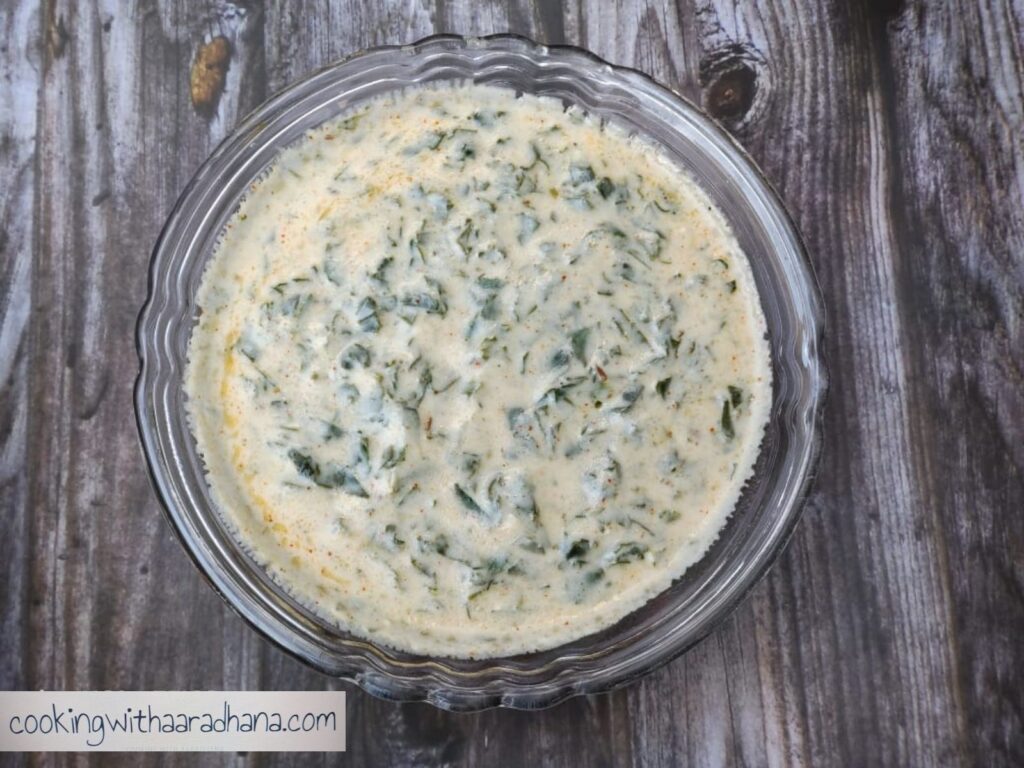
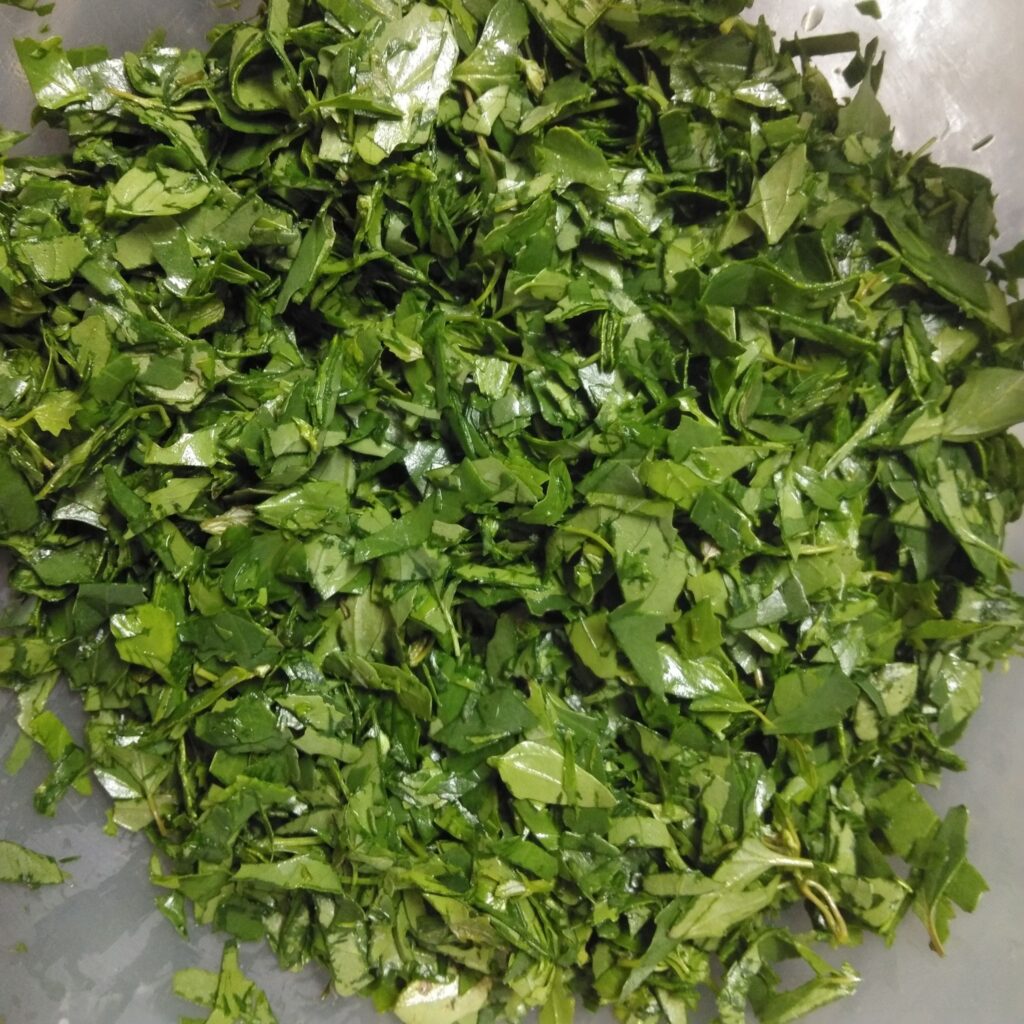
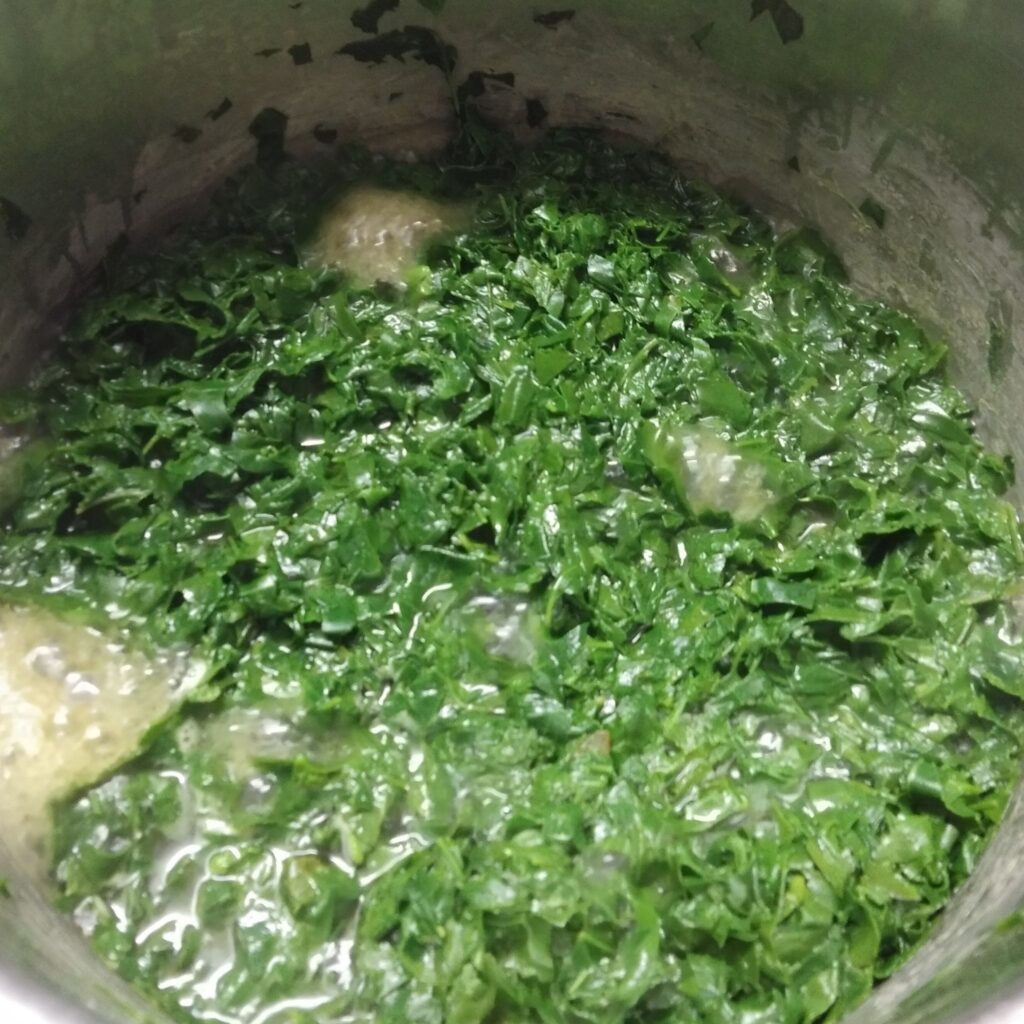
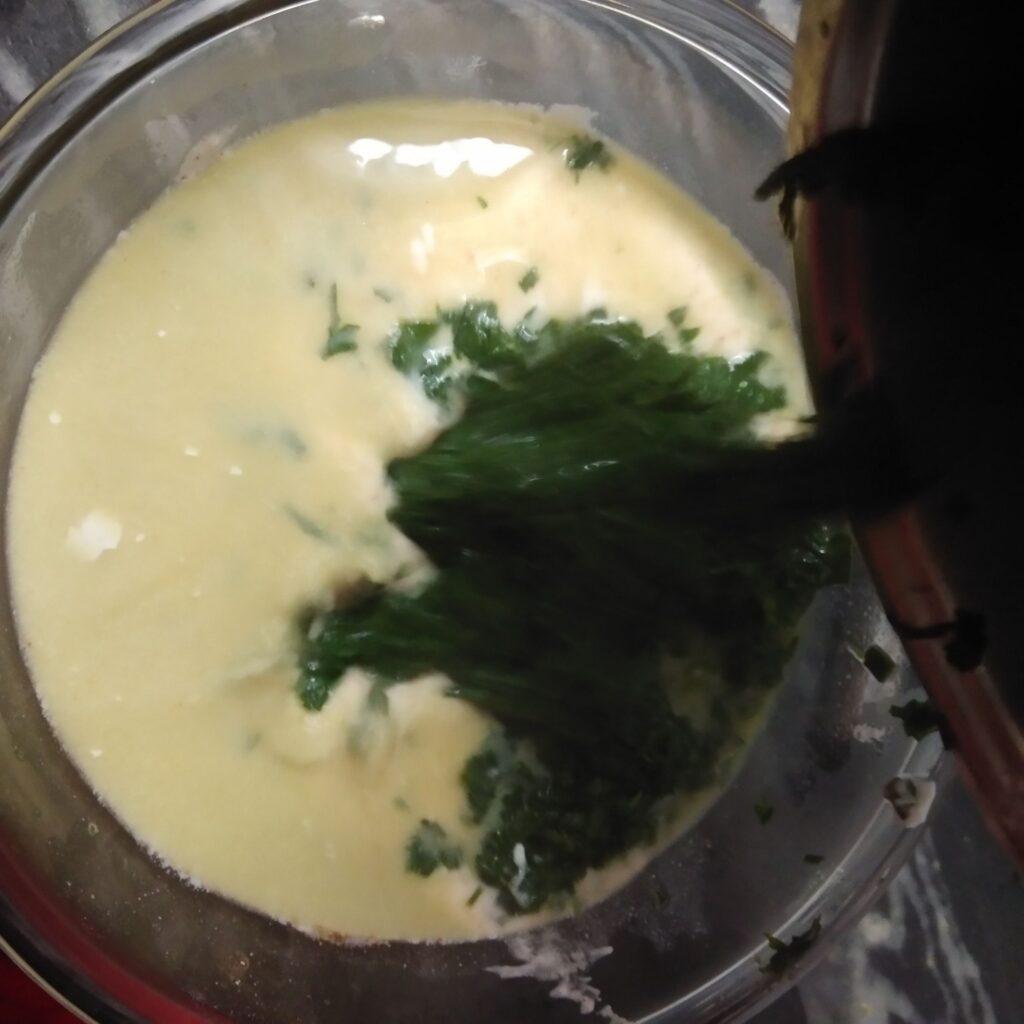
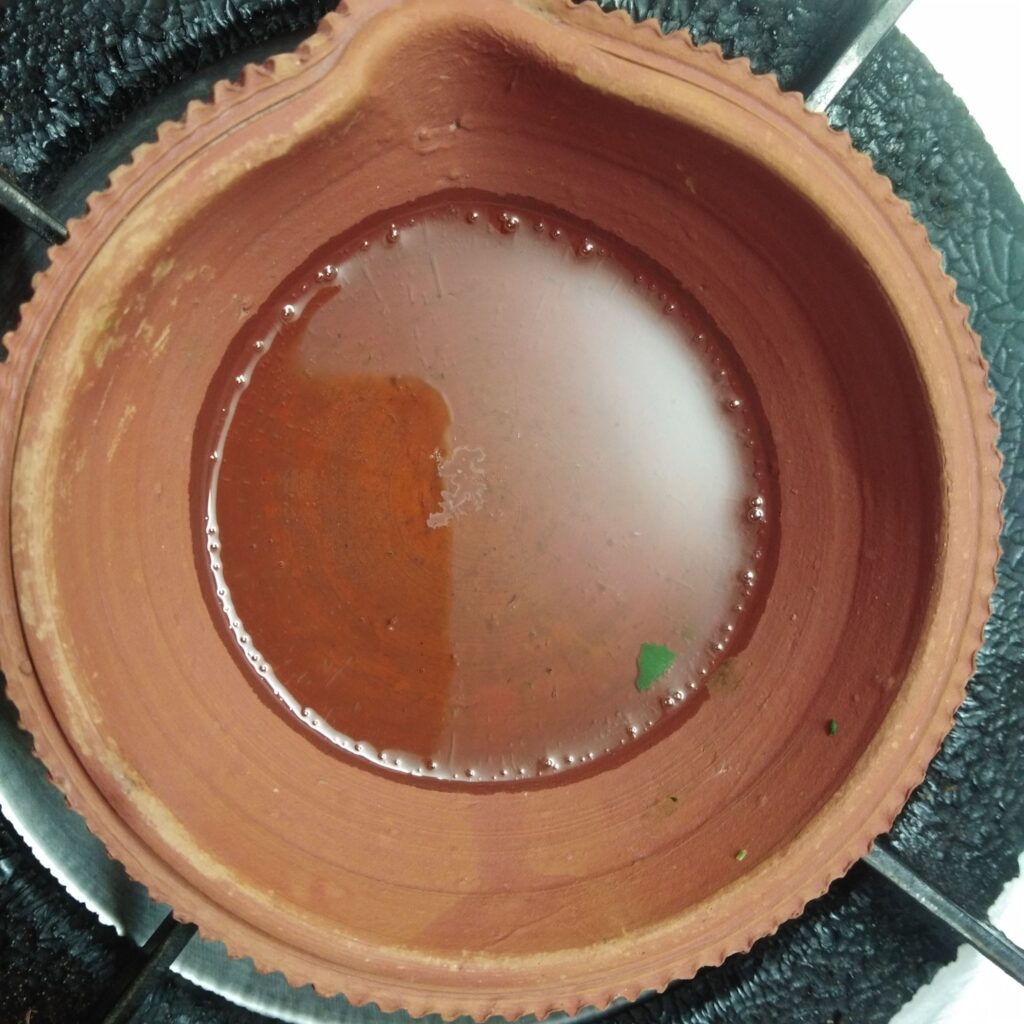
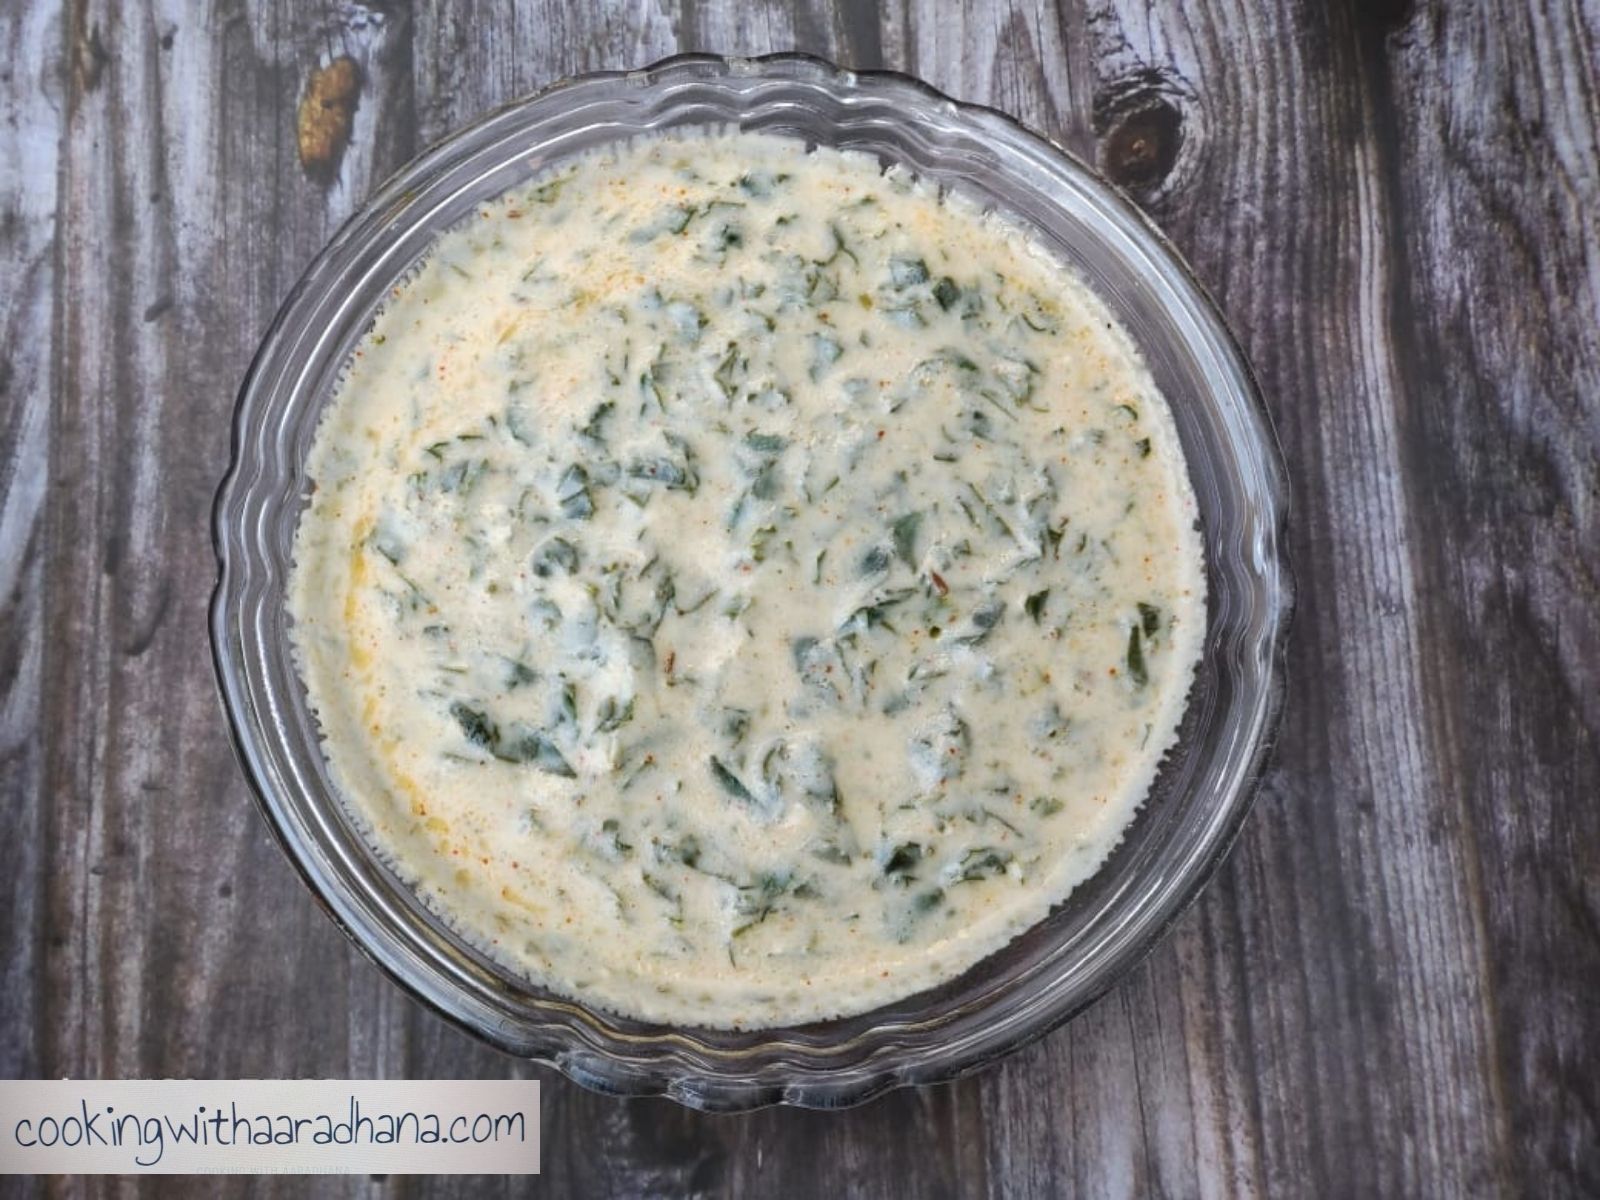
To make bathua raita, first, we have cleaned the bathua by washing it 4 times with water and chopped it into small pieces. Now, we take a pot and add 1 glass of water to it. Turn on the gas and let it boil for 10 minutes on high heat, covering the pot with a lid. After 10 minutes, the bathua is boiled. On the other hand, we are churning the yogurt with a churner until it becomes smooth. Once the yogurt is smooth, add salt, red chili powder, roasted cumin powder, and chaat masala to it. Mix everything well. Now, add the boiled bathua with its water into the yogurt and mix thoroughly. After this, we will prepare the tadka.

For tempering

For the tadka, first, we have cleaned a clay pot (diya) thoroughly with water and dried it well. We place the diya on the gas and add oil to it. Once the oil is hot, we add chopped garlic and let it turn slightly brown. Now, we also add small pieces of green chili. Turn off the gas flame. Using tongs, carefully place the diya into the yogurt mixture and let it sit for 2 minutes. After 2 minutes, remove the diya. Now, the bathua raita with a tadka is ready to serve, a healthy and nutritious dish.

Tips

When boiling bathua, do not add too much water, as bathua itself contains water.

After boiling the leaves, don’t throw away the leftover water because all the nutrients have leached into it during boiling.

For the tadka, we haven’t used mustard seeds (rai) here, but you can certainly add rai. Additionally, you can also add chopped onions and cucumber to enhance the taste and texture of the raita.

FAQ

The reason for adding a clay lamp (mitti ka diya) to the raita is to infuse a rustic, earthy aroma into the dish. The earthy fragrance of the clay pot enhances the flavor and gives it a unique taste. However, if you prefer, you can also add the tempering in the traditional way.

It’s important to clean the lamp thoroughly with water before using it to avoid any dirt or residue from ruining the raita. Additionally, ensure the lamp is completely dry before adding it to the raita, as excess moisture could delay the tempering process.

Add a Comment

Your email address will not be published. Required fields are marked *